Flange sizing matters more than you might think, especially if you’re wincing every time you turn on your breast pump, dreading your next session, or feeling disheartened by how little milk you’re getting. I want you to hear this loud and clear: Pumping is not supposed to hurt.
It’s one of the most common worries I hear from new mothers, but what’s common is not always normal. You’re doing an incredible job, and the last thing you need is pain and stress added to your plate. The good news? The number one cause of this discomfort is often the simplest to fix: you might just be using the wrong flange size.
Think of it like finding the right pair of shoes. You wouldn’t try to walk all day in shoes that pinch your toes or slip off your heels. Yet so many of us are trying to navigate our pumping journey with equipment that just doesn’t fit.
It can feel like one more overwhelming thing to figure out, but I promise, we can solve this together. By the end of this guide, you’ll know exactly how to measure yourself and find the size that brings you comfort, efficiency, and peace of mind.
What Exactly is a Flange?
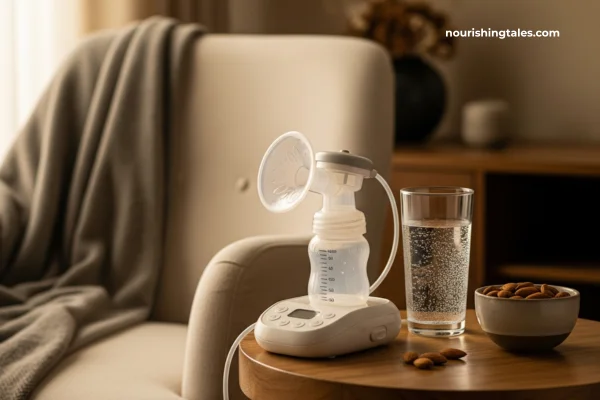
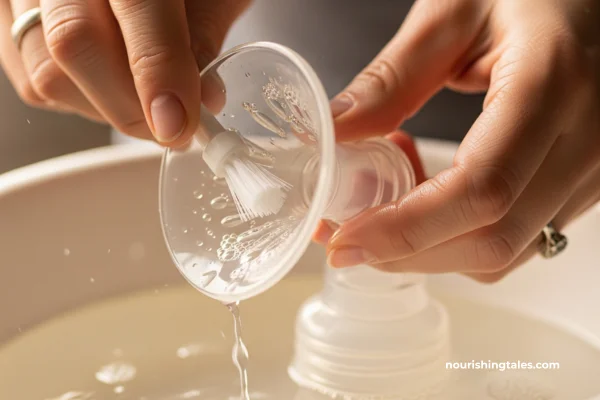
Before we dive in, let’s get on the same page. The breast flange (sometimes called a breast shield) is the funnel-shaped plastic part of your pump that fits directly onto your breast. The tunnel in the centre is where your nipple goes. The size of that tunnel—measured in millimetres (mm)—is your “flange size.”
Most pumps come with one or two standard sizes, usually 24mm or 28mm. The problem? Our bodies are not standard issue! Just like the rest of us, nipples come in all different shapes and sizes.
Why does the right fit matter so much?
Your pump works by creating a gentle vacuum that mimics your baby’s suckling. This action draws your nipple into the flange tunnel, stimulating the nerves that trigger your let-down (milk release) and helping to draw milk out.
- A correctly sized flange centres your nipple, allowing it to move freely in the tunnel. This creates a comfortable seal that effectively stimulates your breast to release milk.
- An incorrectly sized flange can cause a whole host of problems. It can pinch milk ducts, block milk flow, and cause painful rubbing, chafing, and even cracked nipples. This pain and the stress it causes can actually make it harder for your body to release milk.
The right fit is everything—it’s the key to comfortable, efficient pumping sessions that protect your milk supply.
The Telltale Signs of a Bad Fit
Your body is brilliant and will give you clear signals if your flange isn’t right. Here’s what to look and feel for during and after you pump.
Signs Your Flange is TOO SMALL:
A tight flange will squeeze and rub your nipple. The pain is a huge red flag, as pumping shouldn’t hurt.
- Chafing or Rubbing: You feel your nipple rubbing painfully against the sides of the tunnel.
- A Pinching Sensation: It feels like your nipple is being pinched or squeezed, not gently pulled.
- Redness or Whiteness: After pumping, your nipple looks red and sore, or the tip might turn white from poor blood flow.
- Low Milk Output: The tight fit can compress milk ducts at the base of your nipple, preventing your breast from emptying properly.
Signs Your Flange is TOO BIG:
A loose flange will pull too much of your breast tissue into the tunnel.
- Too Much Areola in the Tunnel: A large portion of your areola (the darker skin around your nipple) is being pulled in along with your nipple.
- Swelling or Discoloration: Your areola looks puffy, swollen, or even purplish from the excessive suction.
- Ineffective Feeling: You feel like you have to turn the pump’s suction way up to an uncomfortable level just to feel it working.
- Pain at the Base of Your Nipple: You feel an aching or pulling sensation deep in your breast or areola.
A poor fit that causes tissue damage or prevents your breasts from draining fully can sometimes lead to painful issues like clogged ducts, so getting the size right is a crucial part of your pumping routine.
Your 4-Step Guide to Measuring for the Perfect Fit
This is the most important part! Taking just a few moments to measure accurately is the first step toward pain-free pumping. Guessing simply won’t work.
Step 1: Get Your Nipple Ready
Your nipple size changes, so timing matters. You’ll get the most accurate measurement when your nipple is stimulated and erect—just like it would be during a pumping session. Measure right before you pump, or after pumping for just 1-2 minutes. You can also measure immediately after a breastfeeding session.
Step 2: Grab Your Tool
A simple ruler or a flexible sewing measuring tape with millimetre (mm) markings is perfect for this.
Step 3: Measure the Diameter
You are going to measure the distance straight across the base of your nipple—where it meets the areola.
- Hold the ruler up to your nipple.
- Place the “0” mark at the left edge of your nipple base.
- Read the number at the right edge of your nipple base.
- Important: Be sure you are only measuring your nipple, not the areola around it.
Step 4: Write It Down (and Measure Both!)
Note your measurement in millimetres (mm). Don’t forget to measure both sides! It’s completely normal for your nipples to be different sizes, which might mean you need two different-sized flanges.
The Magic Formula: From Measurement to Flange Size
Once you have your number, finding your starting flange size is easy. The flange tunnel needs to be slightly larger than your nipple to allow for comfortable movement and expansion.
The Simple Formula:
Your Nipple Measurement (in mm)+2 to 4 mm=Your Ideal Flange Size
For example: If your nipple measures 20 mm across:
20mm+4mm=24mm
In this case, a 24 mm flange would be the perfect size to try first. Most people find that adding 3-4 mm is a great starting point.
What a Perfect Fit Looks & Feels Like
Your measurement gives you a starting size, but the real test is how it feels during a pumping session. Once you have your new flange, use this checklist to confirm it’s the right one.
What you should see:
- Your nipple is centred perfectly inside the tunnel.
- It moves freely back and forth with the rhythm of the pump.
- Only a tiny bit of your areola (or none at all) is pulled into the tunnel.
What you should feel:
- A comfortable, gentle tugging sensation.
- No pinching, stinging, or painful rubbing.
- The suction feels effective without needing to be on the highest setting.
- After you finish, your breasts feel softer and well-drained. This is key, as fully emptying the breast is the best way to signal your body to increase your milk supply.
That’s All for Today!
Finding your perfect flange size is a true game-changer. It’s the foundation for a pumping journey that feels comfortable, sustainable, and successful. By taking these few simple steps, you are investing in your own well-being and your ability to nourish your little one.
Remember:
- Measure your stimulated nipple in mm.
- Add 2-4 mm to find your starting flange size.
- Observe how it looks and feels to confirm the fit.
And finally, be kind to yourself. Your body will continue to change throughout your lactation journey. If you ever start to feel new discomfort or notice a dip in your supply, your very first troubleshooting step should be to grab your ruler and re-measure. You are doing an amazing job.
Disclaimer: This article is for informational purposes only and does not constitute medical advice. The information provided is not a substitute for professional consultation with an International Board Certified Lactation Consultant (IBCLC) or other qualified healthcare provider. Always seek the advice of your physician or another qualified health provider with any questions you may have regarding a medical condition.