Cleaning breast pump parts properly might feel like adding one more thing to your to-do list, especially something that has to be done multiple times a day, which can feel overwhelming. You’re juggling a new baby, your own recovery, and a million other things. The thought of washing pump parts meticulously after every single session might seem like a huge task.
But here’s the thing: this little routine is one of the most powerful ways you can protect your precious baby. Your newborn’s immune system is still brand new, and keeping their feeding equipment super clean is a simple act of love that gives you incredible peace of mind.
Think of this not as a chore, but as your superpower. We’ll walk you through it step-by-step, making it so easy that it’ll soon become second nature. You’ve got this.
Setting Up Your Cleaning Station
First things first, let’s create a dedicated safe zone for all your pump parts. Using the regular kitchen sink or a shared dish sponge can introduce unwanted germs. Your pump gear deserves its own special spa!
Here’s what you’ll need:
- A Dedicated Wash Basin: This is non-negotiable! Never wash your pump parts directly in the sink. A simple, clean basin that’s only used for baby’s feeding gear is perfect.
- Gentle Soap: A mild dish soap without harsh fragrances or dyes is all you need.
- A Set of Brushes: Get a large bottle brush for bigger pieces like flanges and bottles, and a tiny brush for getting into the nooks and crannies of valves and membranes. Make sure these are only used for pump and bottle parts.
- A Dedicated Drying Rack: To prevent cross-contamination, give your pump parts their own clean space to air dry, away from other dishes. This is a key part of creating a complete and organised space, and you can find more tips in our guide to setting up your pumping station essentials.
- Clean Paper Towels: For placing your parts on right after washing. Avoid using a cloth dish towel, as it can reintroduce germs.
The Daily Routine: Cleaning After Every Pump
Yes, it really does have to be after every single session. Milk residue is a favourite snack for germs, and they can multiply quickly. You might have heard of the “fridge hack” (storing parts in the fridge between uses), but this is no longer recommended as it doesn’t stop bacteria from growing.
Your daily cleaning process is simple and has two key stages.
Stage 1: The Quick Rinse
As soon as you’re done pumping and have safely put away your liquid gold (we have a complete guide on how to store your breast milk safely!), head to the sink.

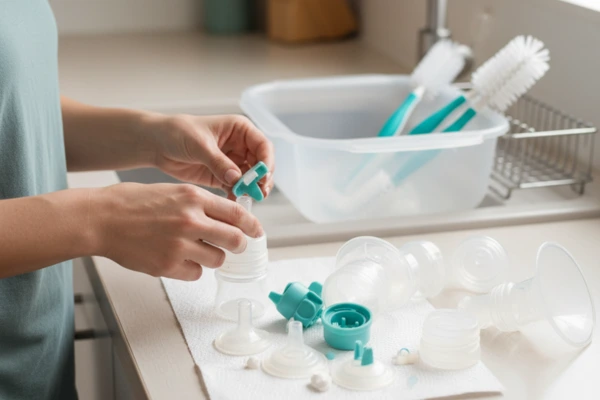
- Take It All Apart: Separate every single piece—flanges, connectors, valves, membranes, bottles. Everything.
- Rinse Under Cool Water: Hold each part under cool, running water. Using cool water first helps rinse away milk proteins without “baking” them onto the plastic, which can happen with hot water.
This immediate rinse is your best friend—it makes the next step so much easier!
Stage 2: The Thorough Wash
Now it’s time for a proper clean.
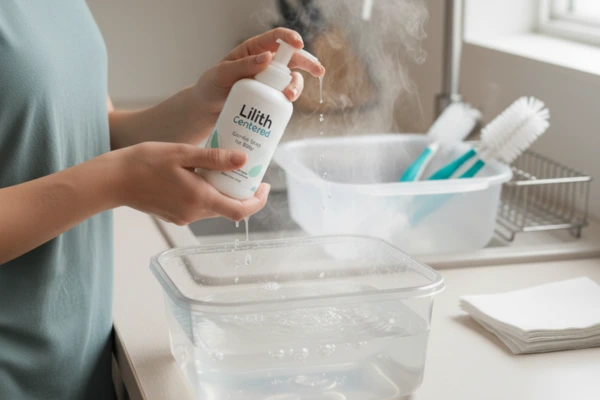
- Prep Your Basin: Fill your dedicated basin with hot water and a few drops of your gentle soap.
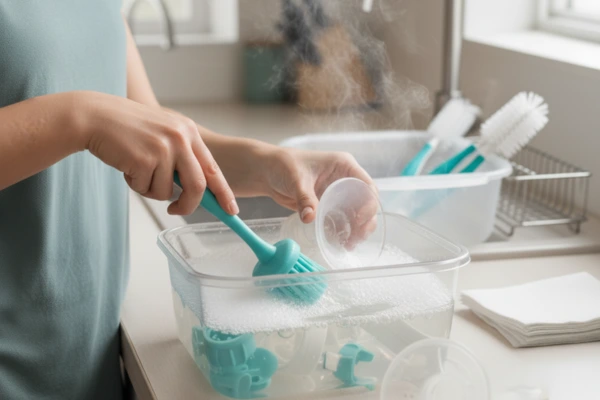
- Scrub, Scrub, Scrub: Pop all the disassembled parts into the soapy water. Use your dedicated brushes to give every piece a good scrub. That physical scrubbing action is what removes the stubborn milk fats and residue. Don’t forget the tiny corners!
- Rinse Again: Rinse each piece thoroughly under clean, running water until all the soap suds are gone.
- Air-Dry Completely: Place everything on your dedicated drying rack and let it air dry completely. Using a dish towel can leave behind lint and germs, so letting the air do the work is the safest bet.
Once dry, you can reassemble your pump and store it in a clean, covered container until you need it next.
Sanitising for Extra Peace of Mind
It’s important to know that cleaning and sanitising are two different things. Cleaning removes germs with soap and water. Sanitising kills any lingering microscopic germs with heat, providing an extra layer of protection.
We recommend sanitising your pump parts at least once per day. This is especially important if your baby is under three months old, was born prematurely, or has a weakened immune system.
Here are the two easiest and most effective ways to do it (but always check your pump’s manual first to make sure the parts can be boiled or steamed!):
Method 1: Boiling
This is the simplest method—no fancy equipment needed!
- Place your clean, disassembled parts in a large pot.
- Cover them completely with water.
- Bring the water to a rolling boil and let it boil for 5 minutes.
- Carefully remove the parts with clean tongs and place them on your dedicated drying rack to air dry completely.
Method 2: Steaming
You can use an electric countertop steriliser or special microwave steam bags for this.

- Electric Steriliser: These gadgets are super convenient. Just add water, load your parts, and press a button.
- Microwave Steam Bags: These reusable bags are a great space-saving option. Add a bit of water and your parts, and microwave according to the package instructions.
With either steam method, let the parts air dry completely on the rack afterwards.
A Quick Note on Tubing
You do not need to clean the long, plastic tubing unless milk has backed up into it. The tubing only carries air, not milk. If you notice a little condensation inside, just let the pump run for a few extra minutes after you’re done pumping to air it out. If milk does get in, the tubing needs to be washed and dried thoroughly, or even replaced, to prevent mould growth.
And speaking of replacing parts, remember that pump parts don’t last forever! Over time, they can stretch and wear out, making your pump less effective. It’s important to know when to replace your pump parts to keep your supply strong and your pump working efficiently.
Your Cleaning Cheatsheet
Feeling overwhelmed? Screenshot this little summary for a quick reminder!
| Task | When to Do It | Why It’s Important |
| Quick Rinse | Immediately after pumping | Stops milk from drying onto the parts. |
| Thorough Wash | After every pumping session | Removes milk fat and scrubs away germs. |
| Sanitise | At least once a day | Kills any remaining germs for extra safety. |
| Air Dry | After every wash & sanitise | Prevents re-contamination from towels. |
You are doing an incredible job providing for your baby. By taking these few simple steps to keep your equipment clean, you’re not just ensuring their safety—you’re giving yourself the gift of confidence and peace of mind. Keep going, mama. You’ve got this.
Disclaimer: This article provides general health information and is not a substitute for professional medical advice. Always consult with your doctor, paediatrician, or a certified lactation consultant (IBCLC) for guidance specific to you and your baby’s health needs.