Thawing and warming breast milk correctly protects all the hard work you’ve put into pumping and building that precious stash of liquid gold in your freezer. Each bag represents time, effort, and so much love.
Looking at them now, it’s completely normal to feel a little anxious about how to prepare them perfectly for your baby. You want to make sure every single drop is safe and packed with all the goodness your body created.
You’re not alone in feeling this way. We’re here to hold your hand and walk you through it, step by step. Protecting that precious milk is simpler than you think. You’ve got this.
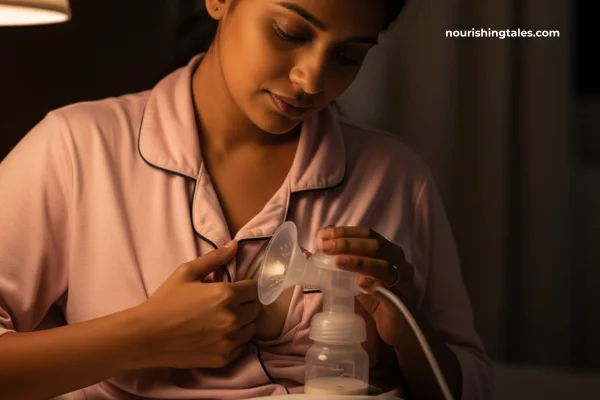
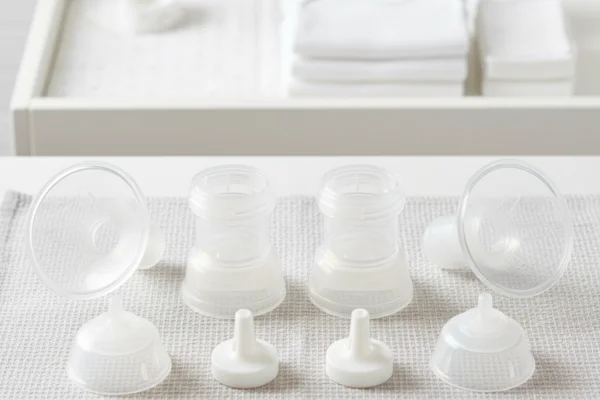
Why Fresh Pump Parts Are So Important
It’s easy to overlook these tiny components, but they are the heart and soul of your pump’s performance. When they get old, two key problems can arise.
1. They Can Weaken Your Milk Supply
A breast pump works by creating a perfect seal to generate a pattern of suction and release, gently drawing milk from the breast. When parts like valves and backflow protectors get stretched or develop invisible micro-tears, that seal is broken. Air leaks in, the vacuum weakens, and the pump becomes much less effective at removing milk.
This not only means longer, more frustrating pumping sessions for you, but it can also signal your body to produce less milk over time. Keeping your parts fresh is one of the easiest ways to protect your hard-earned supply. If you’re ever worried about a dip, we have a complete guide on how to increase your milk supply that can offer extra support.
2. They Can Pose a Hygiene Risk
Over time, tiny cracks and crevices can form in worn-out parts. These little imperfections can trap milk residue and moisture, making them nearly impossible to get perfectly clean. This can create a space for bacteria or mould to grow, which is the last thing you want anywhere near your baby’s milk.
Regular replacement is a simple and crucial step in ensuring the milk you work so hard to pump is safe and hygienic. For a stress-free routine, you can also check out our tips for cleaning your breast pump quickly and effectively.
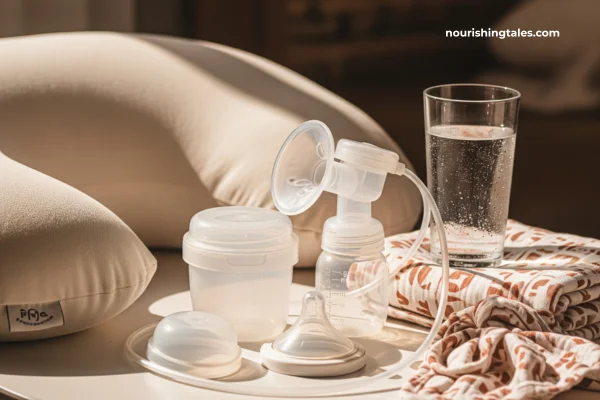
The Ultimate Pump Part Replacement Timetable
So, how often do you need to make the switch? It depends on how frequently you pump. We’ve broken it down for you:
- Exclusive Pumper: You pump 6 or more times a day.
- Occasional Pumper: You pump just a few times a week.
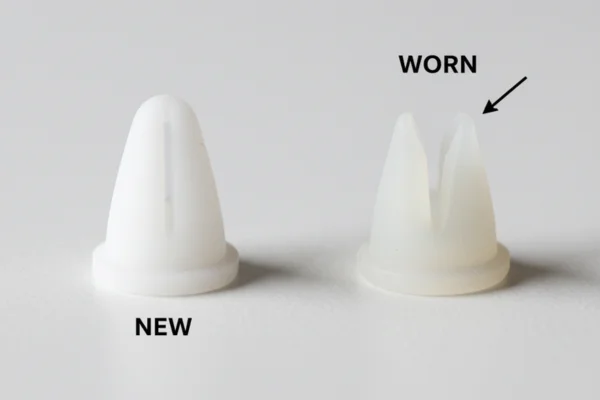
Duckbill Valves
These little one-piece silicone valves are the unsung heroes of most modern pumps. They are responsible for creating the suction that draws out milk.
- Replace Every:
- Exclusive Pumper: 1 month
- Occasional Pumper: 3 months
- Signs of Wear: The slit at the tip looks stretched open, you see a tear, or the valve falls off the flange easily.
Valve Membranes & Bases
Common in older Medela pumps, these are the small, white, circular flaps that attach to a valve base. They are extremely delicate and critical for suction.
- Replace Every:
- Exclusive Pumper: 2-4 weeks (yes, this often!)
- Occasional Pumper: 2 months
- Signs of Wear: The membrane looks torn, curled at the edges, or doesn’t lie completely flat against the base.
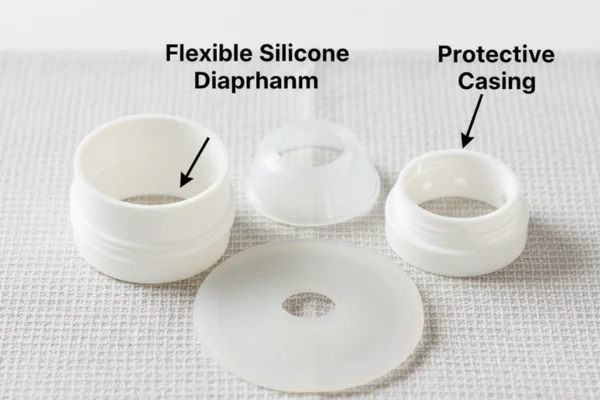
Backflow Protectors (Diaphragms)
This is your pump’s most important safety feature. It’s a flexible silicone diaphragm inside a plastic case that stops milk and moisture from getting into the tubing and motor.
- Replace Every:
- Exclusive Pumper: 3 months
- Occasional Pumper: 6 months
- Signs of Wear: The silicone part looks stretched or warped, or you see moisture trapped inside long after a session has ended and the parts have dried.
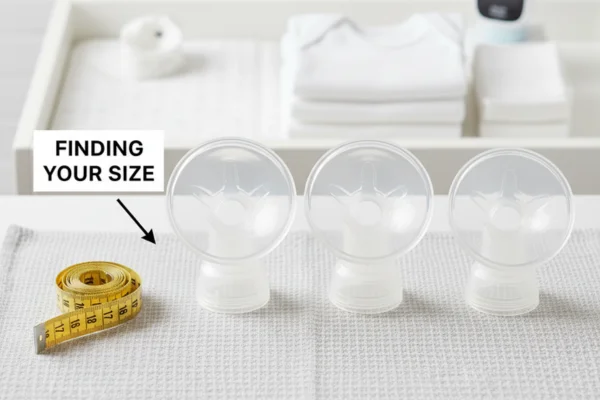
Flanges / Breast Shields
These are the plastic funnels that sit against your breast. While they are durable, their condition and fit are everything. An improper fit can cause pain and reduce milk output.
- Replace Every: 6 months, or immediately if you see any damage.
- Signs of Wear: Cracks, chips, rough edges, or a chalky white residue that won’t wash off.
- A Note on Fit: More important than wear and tear is ensuring you have the right size from the start. If pumping is uncomfortable, your flange size might be the culprit. Our complete flange sizing guide can help you find your perfect fit.
Tubing
Good news! In modern, closed-system pumps, the tubing only carries air and should never touch your milk. This means you don’t need to replace it on a regular schedule.
- Replace Immediately If: You ever see milk, moisture, or any dark spots (mould) inside the tubing, or if it’s cracked and won’t connect securely.
Your At-a-Glance Cheatsheet
Feeling overwhelmed? Don’t be! Screenshot this little table and save it to your phone or stick it near your pumping station.
| Part Name | Replace Every… (Exclusive Pumper) | Replace Every… (Occasional Pumper) |
| Duckbill Valves | 1 Month | 3 Months |
| Valve Membranes | 2-4 Weeks | 2 Months |
| Backflow Protectors | 3 Months | 6 Months |
| Flanges / Breast Shields | 6 Months (or if damaged) | 6 Months (or if damaged) |
| Tubing | Only as needed | Only as needed |
A Small Investment for a Big Return
We know that life with a little one is full of things to remember. Adding “replace pump parts” to your mental list might feel like just one more task. But we promise, it is one of the most powerful and effective things you can do on your pumping journey.
A fresh set of valves and protectors costs very little, but it’s a huge investment in your milk supply, your baby’s safety, and your own peace of mind. You’re doing an amazing job, and keeping your pump in top shape will help you get back your time and confidence.
Happy pumping!
Disclaimer: This article is for informational purposes only and does not constitute medical advice. Always consult with a certified lactation consultant (IBCLC) or healthcare provider for any concerns related to your health, your baby’s health, or your milk supply. Always follow the manufacturer’s specific instructions for your breast pump model regarding cleaning, sterilisation, and part replacement.